The cycling process in practice — protocol, equipment and when the tank is ready
The basics article covered what is happening biologically during the cycling process. This article goes through the practical implementation step by step — in enough detail that a hobbyist who has never done a cycling phase knows exactly what to do and why.
What equipment is needed — and what is not
One of the most common mistakes is starting the tank with all equipment running from day one. The cycling phase is intentionally a simple environment. The fewer variables, the faster and cleaner the process runs.
Needed:
- Heater and thermometer — temperature is one of the two key parameters in the cycling protocol
- Circulation pump or flow pump — nitrifying microbes live on surfaces, not free in the water column; water must flow continuously over all surfaces and around the rock
- Salinity meter (refractometer or digital) — the other key parameter
- Ammonia test kit — this is how you track the entire process
- Nitrate test kit — needed toward the end of the cycling phase
Not needed — and should not be started:
- Skimmer — switch off or leave off for the entire cycling phase. The skimmer removes dissolved organic compounds and particles that serve as nutrient sources and colonisation surfaces for nitrifiers. Start the skimmer only after cycling is complete.
- Lights — leave off completely for the entire cycling phase. Lighting feeds algae growth precisely when nutrient concentrations are at their highest. In the dark, diatom and cyanobacteria outbreaks are considerably smaller. Lights are brought on in a separate phase later.
- Mechanical filtration — filter floss and filter socks stay off. They remove particles that nitrifying microbes need.
- GAC (granular activated carbon) — remove from service during the cycling phase. GAC removes organic compounds that feed the biological process.
- GFO or other phosphate removers — absolutely off during the cycling phase. GFO removes phosphate that nitrifiers need for enzyme synthesis. Removing phosphate during cycling significantly slows the process.
- Dosing pumps, controllers and supplements — cycling is the simplest possible environment. Add these after cycling is complete as needed.
Step 1: Filling and parameter adjustment (day 1)
Fill the tank with RO/DI water. Tap water contains silicates, chloramines and other compounds that interfere with the cycling process and feed algae outbreaks — do not use tap water.
Mix salt to a target of ~20 ppt (SG ~1.015). This is a deliberate choice in the cycling protocol: research shows nitrification activity is more than 40 % higher at low salinity than in full seawater. Lower ionic strength facilitates nitrifier enzyme synthesis. Do not raise SG during the cycling phase.
Set temperature to 28 °C. Nitrifying microbes grow faster at warmer temperatures than in the 25–26 °C typically maintained in reef tanks. Temperature is lowered to target after the cycling phase.
Start the circulation pump at full power. Ensure flow reaches everywhere — behind, under and around rocks. Stagnant water is a problem: anaerobic pockets develop sulphate-reducing bacteria that produce hydrogen sulphide.
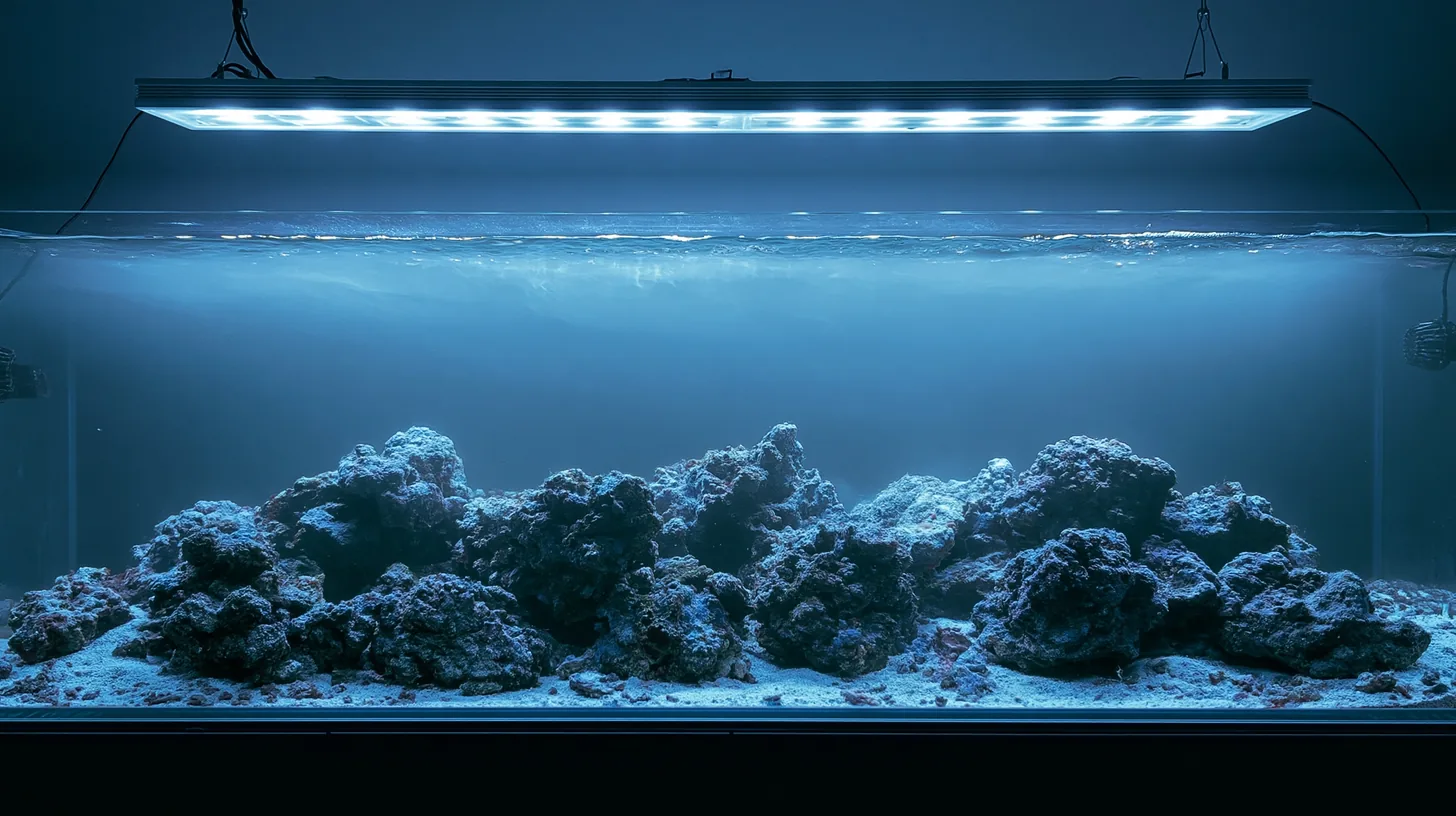
Lights stay off.
Step 2: Seeding and ammonia source (days 1–3)
Add a seed source. In order of preference: live rock from a healthy disease-free tank, mature tank biological filter media or sand, or a commercial liquid bacterial product. An absolute requirement for the seed source: material may only come from a tank with no filamentous algae, cyanobacteria or pest animals such as Aiptasia sp. or Anemonia manjano.
Add shell-off, additive-free frozen shrimp as the ammonia source. Shrimp naturally contain both nitrogen and phosphorus in suitable ratios — unlike a chemical ammonia solution, which contains only nitrogen. Nitrifying microbes need phosphate for enzyme synthesis; pure nitrogen without phosphorus creates an unbalanced starting point. Shrimp also mimic a natural organic decomposition process, which supports development of a broader microbial community beyond just nitrification.
Shrimp quantity by tank size: under 100 L — 1–2 shrimp; 100–300 L — 3–4; larger tanks proportionally more. Let the shrimp decompose undisturbed on the tank floor. They do not need to be removed — they decompose gradually and maintain ammonia concentration for the cycling phase.
Start Tropic Marin Phos-Start dosing on the same day per manufacturer instructions. Phos-Start contains particulate insoluble phosphate and three halogens: iodide, fluoride and bromide. These halogens disappear quickly from a new tank — they bind to organic matter or are oxidised, and a new tank has no mechanism to replenish them until regular water changes start. Phos-Start ensures nitrifying microbes have phosphate available throughout the cycling phase, while also building a halogen reserve that benefits coral metabolism as soon as animals begin to be added. Continue Phos-Start dosing daily until the end of the cycling phase.
Step 3: Monitoring during the cycling phase (day 1 through completion)
Test ammonia every other day. This is the only test needed during the cycling phase. Ammonia tells you the most important thing: is it being consumed or not.
If ammonia rises above 5 mg/L, do not add more shrimp — let the nitrifiers process the load first. Nitrifiers do not starve over a few days without added ammonia.
When ammonia clearly begins to fall — typically around week 2–3 — add a nitrite test to monitoring. Nitrite always rises after the ammonia peak with a lag: this is a sign that the first nitrification stage is working and the second is starting.
Do not start lights, skimmer or any other equipment even if diatoms or other algae growth appears in the tank during the cycling phase. These are normal biological intermediate stages.
Step 4: Cycling is complete — how to confirm it
Cycling is complete when both of the following conditions are met simultaneously:
- Ammonia: 0 mg/L
- Nitrite: 0 mg/L
When both first show zero, run a confirmation test: add a small ammonia boost (one more shrimp or an equivalent organic source) and test after 24 hours. If ammonia has returned to zero and nitrite stays at zero, nitrification is working reliably. Cycling is done.
A normal cycle with good seeding and optimised parameters takes 35–42 days. Dry rock without seeding may take considerably longer.
Step 5: First water change immediately after cycling
As soon as cycling is confirmed complete, perform a 50 % water change. This is the critical step in the cycling protocol with three justified purposes.
The first is diluting nitrate. During the cycling phase all ammonia eventually converts to nitrate, which accumulates in the tank. Nitrate is not toxic in the same way as ammonia or nitrite, but a high nitrate level is not a good starting point for a tank that will receive animals. A 50 % water change halves nitrate concentration in one operation.
The second is raising SG to target. Cycling was done at SG 1.015 — now moving toward normal reef aquarium salinity of ~1.025–1.026. A 50 % water change with new water mixed to the correct salinity raises SG directly to approximately halfway to target. Final adjustment is made by adding new water at the correct SG over the next few days. Do not raise SG to 1.026 in one go — make the change slowly over 2–3 days.
The third purpose is flushing organic load. During the cycling phase, decomposing organic matter, bacterial biomass and other compounds have accumulated in the tank. A large water change flushes this load before the skimmer and filtration are started.
The water change is done at the same temperature as the tank (still 28 °C at this stage). New water is always mixed first in a separate container — never pour dry salt directly into the tank.
Step 6: ICP test before animals
Riuttareef’s recommended protocol: take the ICP sample at least 48 hours after the water change. Immediate sampling after a water change gives a distorted picture — the water has not yet equilibrated. A 48-hour wait allows the chemistry to stabilise and sensors to level out.
The best time to collect the water sample is in the morning before lights come on, with as much time as possible elapsed since the last feeding. Feeding temporarily raises dissolved organic compound, phosphorus and nitrogen concentrations in the water column. Lights trigger photosynthesis, which changes pH and consumes carbon dioxide. Both affect measurement results. A morning sample before lights and before feeding represents the tank’s equilibrium state best — and this same practice is followed in all subsequent ICP samples.
The ICP test has two purposes at this stage. The first is identifying contaminants: ICP reveals if the tank has anomalies even before animals are present — heavy metals from glass or plumbing, phosphate from dry rock, unusual values from salt or source water. If anything is off, the cause is investigated before anything living is added. The second purpose is creating a baseline: the post-cycling ICP is the only moment when chemistry reflects only equipment, water and rock — not animal consumption. This result is the reference point against which all later results are compared.
ICP results typically arrive in 5–10 business days depending on the lab. During this time you can begin preparing the next steps, but no animals are added until the results have been checked.
Step 7: Equipment startup and gradual light introduction
When ICP results have been checked and everything is in order, equipment is started gradually and temperature and SG are adjusted to final targets.
Temperature: lower slowly to target 25–26 °C over a few days. An abrupt temperature change stresses bacterial populations.
SG: raise to target ~1.025–1.026 slowly over 2–3 days by adding new water at the correct SG through evaporation top-off or small partial water changes.
Skimmer: start. Wait 24–48 hours before adjusting — the skimmer behaves differently in fresh water than in an established tank.
Mechanical filtration: start if in use.
Lights: introduced gradually. No corals have been added yet, so light introduction serves two purposes: it acclimates bacterial populations and any coralline algae to light, and it gives the hobbyist time to take PAR measurements before corals are placed.
- Days 1–3: lights on for a 4-hour photoperiod, intensity 10–20 % of maximum
- Days 4–7: extend photoperiod to 6 hours, intensity 20–30 %
- Weeks 2–3: extend photoperiod to 8 hours, intensity 30–50 %
- From week 4 onwards: gradually increase toward target values based on PAR measurement. Do not adjust lighting by eye — use a PAR meter or rent one from a local dealer.
Light introduction is tied to the animal addition schedule: the first animals (microfauna, cleanup crew) are added when the photoperiod is 6–8 hours and intensity is at 30–40 %. Corals are not added until lighting is fully dialled in and a PAR measurement has been done at the coral’s planned placement position.
What cycling does not solve
The end of the cycling phase does not mean the tank is biologically mature. Nitrification is working — but the tank’s full microbial community develops over months. The order and schedule of adding animals has a major impact on how this maturation proceeds. Adding animals too quickly can destabilise the young microbial community before it is sufficiently stable. Animal addition order and its biological logic are covered in a dedicated article.
Sources
1. Peer-reviewed studies
- Hovanec, T.A. & DeLong, E.F. (1996). Comparative analysis of nitrifying bacteria associated with freshwater and marine aquaria. Applied and Environmental Microbiology, 62(8), 2888–2896.
- Könneke, M. et al. (2005). Isolation of an autotrophic ammonia-oxidizing marine archaeon. Nature, 437, 543–546.
- Daims, H., Lücker, S. & Wagner, M. (2016). A new perspective on microbes formerly known as nitrite-oxidizing bacteria. Trends in Microbiology, 24(9), 699–712.
- Sterner, R.W. & Elser, J.J. (2002). Ecological Stoichiometry. Princeton University Press.
2. Hobbyist literature and brand documentation
- Hovanec, T.A. (2022). Nitrification in Marine Aquaria — Part III. CORAL Magazine, Jan/Feb 2022.
- Levenson, M. (2022). Timing Is Everything — Modified Cycling Phase. CORAL Magazine, Jan/Feb 2022.
- Brockmann, D. (2022). Monitoring the Cycling Phase. CORAL Magazine, Jan/Feb 2022.
- AquaBiomics / Reefability (2023). Reef Therapy Podcast, Episode 128.
- Aslett, C.G. (2024). Real Reef Talk — Intro Q&A. reefranch.co.uk.
3. Books and textbooks
- Sprung, J. & Delbeek, J.C. (1994). The Reef Aquarium, Vol. 1. Ricordea Publishing.
- Borneman, E.H. (2001). Aquarium Corals: Selection, Husbandry, and Natural History. TFH Publications / Microcosm.
- Madigan, M.T., Martinko, J.M. & Parker, J. (2003). Brock Biology of Microorganisms (10th ed.). Prentice Hall.